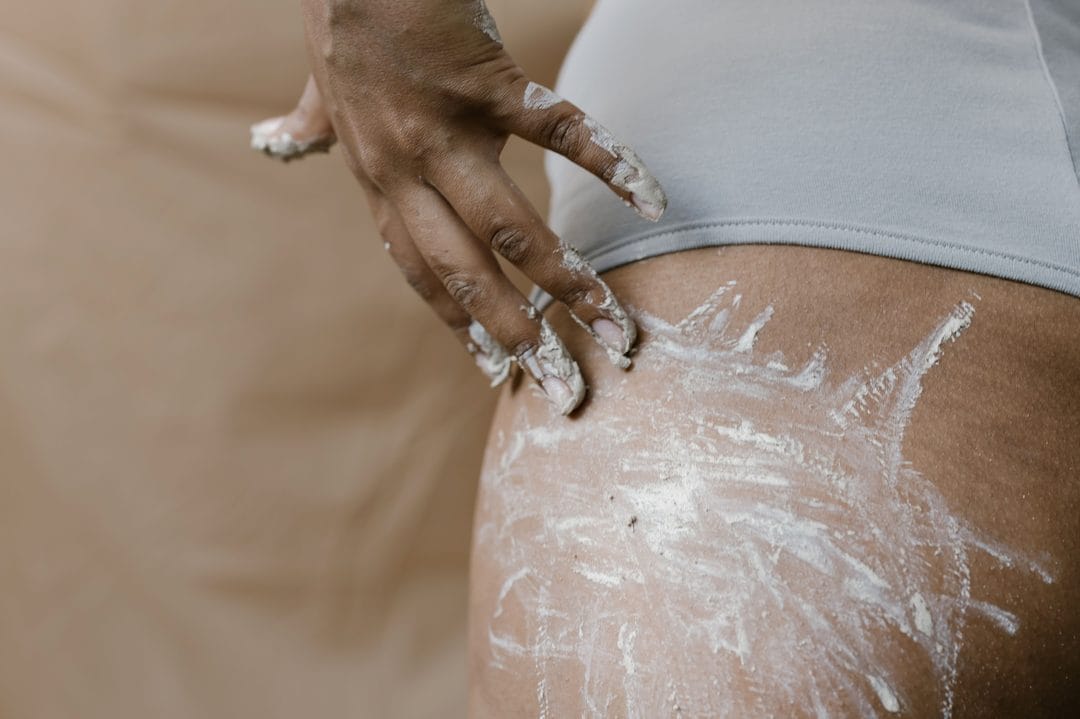
The last time most people tried self-tanner, it turned the crease of an elbow the color of a pumpkin spice latte within four hours and left the whole bathroom smelling like a biscuit factory. That memory is doing a lot of unfair work today. The formulas sitting on shelves at Sephora, Ulta, and Target in 2026 are a different category of product entirely — better pigments, faster-fading undertones, and finishes that actually read as skin rather than as a costume. The problem was never really the concept. It was the process, and almost nobody was taught the process properly.
Why the Orange Reputation Won't Die
Self-tanner works by way of DHA, a colorless sugar that reacts with amino acids in the outermost layer of skin and darkens it through a chemical process called the Maillard reaction — the same basic browning reaction that toasts bread. That's the part that hasn't changed since the 1960s. What has changed is everything around it: bronzer-tinted guide colors so you can see where you've applied, gradual formulas that build over three or four days instead of one aggressive coat, and violet or green color correctors mixed in to cancel out the orange undertone that DHA produces on its own. Vita Liberata, Isle of Paradise, and St. Tropez all lean on some version of this color-correcting trick now, and it's the single biggest reason 2026's self-tanners look nothing like the ones from a decade ago. Old formulas oxidized into a flat, uniform orange because there was nothing in the mix fighting that undertone. New ones fight it chemically before it ever reaches the skin's surface, which is why a mousse applied badly today still looks more like a tan than a mistake.
None of that matters if the skin underneath is uneven, though, which is where almost every bad tanning story actually starts.
Prep Like the Tan Depends on It
Skip this step and every product on this list underperforms.
DHA grabs onto dead skin cells and dry patches far more aggressively than it grabs onto smooth, hydrated skin, which is exactly why elbows, knees, ankles, and knuckles go dark first and stay dark longest. Exfoliate the night before with a body scrub or a washcloth and a gentle body wash — something with a mild acid, like the Tree Hut Shea Sugar Scrub ($8.99 at Target), works well and won't strip the skin the way a harsh mechanical scrub can. Shave or wax at least twenty-four hours ahead, never the same day, since freshly opened pores absorb color unevenly and can leave a speckled texture that looks a lot like a rash. After exfoliating, moisturize the driest areas — elbows, knees, ankles, tops of the feet — with a light, oil-free lotion, and let it fully absorb before applying anything else. Skin that's still tacky from lotion will push the tanner around instead of letting it settle. Nails and cuticles are worth a quick swipe of balm too, since DHA stains them a dull yellow-brown that takes days to grow out.
The Application Order That Actually Prevents Streaks
- Start with a tanning mitt, not bare hands — palms absorb DHA fast and turn orange almost instantly
- Work in long, even strokes rather than small circles, which tend to leave visible overlap lines
- Go over elbows, knees, and ankles with a barely-there swipe of leftover product on the mitt, or skip a fresh layer entirely
- Wait a few minutes between limbs so you can see where the product has actually landed before moving on
- Some people find it easier to tan in two thinner layers on back-to-back nights rather than one heavy coat, and that's a completely reasonable way to build color gradually
Loving Tan's $49.90 mousse and Tan-Luxe's The Water ($46 at Sephora) both come with mitts in the box, which removes one common excuse for skipping this step.
Picking a Formula for Your Actual Skin
Mousses give the deepest, most controllable color and are the better choice for a first attempt, since the tint guide makes mistakes visible before they set. Drops and serums — Isle of Paradise Self-Tanning Drops run about $24 at Ulta — mix into a regular moisturizer and produce a lighter, more subtle result that's easier to build up over a week; they're the smarter pick for anyone tanning their face along with the body, where a heavy mousse can look too much. Gradual lotions, like Jergens Natural Glow at roughly $9.99 a bottle, are the slowest option and the most forgiving one, which makes them genuinely useful for a first-timer nervous about commitment. Skip spray tans in a can unless you've used the exact one before; aerosol formulas are the hardest to apply evenly without professional practice, and a bad DIY spray tan is much harder to fix than a bad mousse.
Bali Body and Coco & Eve both market themselves around a coconut scent that masks the biscuit smell DHA is known for, and it genuinely works better than most people expect walking in skeptical. That said, no self-tanner is entirely odor-free once the reaction starts a few hours in — if a completely scentless tan is the goal, that expectation needs adjusting rather than the product.
What About Your Face?
Face self-tanner is its own category, and reaching for the same mousse used on legs is one of the fastest ways to end up with an orange jawline and a pale neck. A dedicated face formula, applied with fingertips or a small brush rather than a full-size mitt, blends far more precisely around the hairline, eyebrows, and ears — the spots that give away a rushed face tan instantly. Isle of Paradise and Tan-Luxe both sell face-specific drops that mix into a normal moisturizer one or two pumps at a time, which makes it easy to build color gradually over several days rather than committing to full depth on the first try. Blend down into the neck and just under the jaw so there's no visible line where the tan stops, and go lighter around the hairline than feels intuitive — hair holds pigment and a slightly-too-generous swipe there reads as a stain days later.
The Sunscreen Question, Answered Directly
Self-tanner is not sunscreen, and this is the single most common point of confusion around the whole category. DHA darkens the surface of the skin; it does nothing whatsoever to block UV radiation, and a golden self-tan sitting on top of unprotected skin will burn exactly as fast as pale skin would. Wear SPF 30 or higher every single day a self-tan is on, reapply it the same way you would on bare skin, and treat the tan as a cosmetic layer sitting on top of skin that still needs the same protection it always did.
Making It Last (and Fade Without Looking Patchy)
A self-tan typically holds for five to seven days before it starts fading, and how it fades matters more than how it looks on day one. Moisturize daily with a lotion that doesn't contain heavy exfoliating acids, which will strip color unevenly and speed up patchiness around day four. Avoid long, hot showers and chlorinated pools where possible during the first two days, since both accelerate the reaction fading faster than intended. When the tan does start to go, exfoliate it off deliberately with a scrub rather than letting it flake unevenly — a clean reset is far easier to build back up on than blotchy leftover color. Bali Body's tan extender oil and most gradual lotions double as decent maintenance products in between full applications, stretching a single tanning session closer to two weeks.
Common Mistakes Worth Fixing Before Your Next Try
Most self-tanner regrets trace back to one of a small handful of habits: applying over unexfoliated skin, using bare hands instead of a mitt, skipping the guide color and losing track of coverage, showering too soon after application (wait at least three hours, ideally overnight), or piling on a thick layer over dry patches out of a mistaken belief that more product means more even color, to name the usual suspects. It's the opposite — more product on dry skin means darker, more obvious patches, not a deeper overall glow. Fix the prep and the mitt technique first; everything else about self-tanning gets dramatically easier once those two habits are in place.